NOTE: Canopus ProCoder does accept AviSynth frameserving method, so you may still be able to accomplish what I couldn't!
a)
b)
c)
d)
e)
| Using - Canopus ProCoder Express |
| This
encoder produces extremely high quality files and gives you a lot of
control over your encoding settings, it can Encode and Convert many
types of formats including RealMovie and QuickTime. However, I was
unfortunatly unable to get it to accept D2V files or VirtualDub
frameserve VDR file, so the only way I was able make it encode from the VOB
files was using the VFAPI video Fake AVI file. When it's done, you will
need to use Multiplexing to combine it with the Audio of the movie. NOTE: Canopus ProCoder does accept AviSynth frameserving method, so you may still be able to accomplish what I couldn't! |
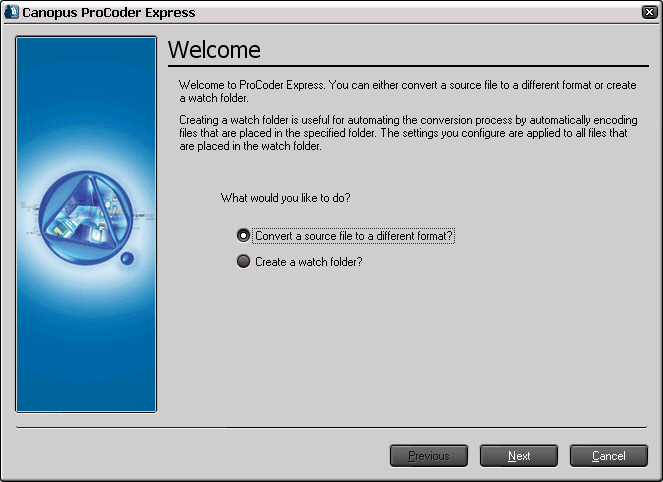
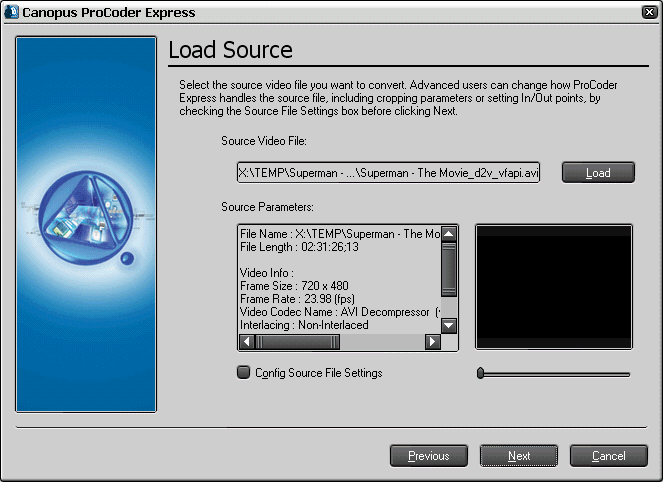
Step 1(a/b) - When you open ProCoder you will be asked what to do, select "Convert a source file to a different format?" and click the "Next" button. Then use the "Load" button under "Source Video File" to open the movie which you want to encode. You can see all the details of your movie in the "Source Parameters" box below. Click on "Next" to continue.  |
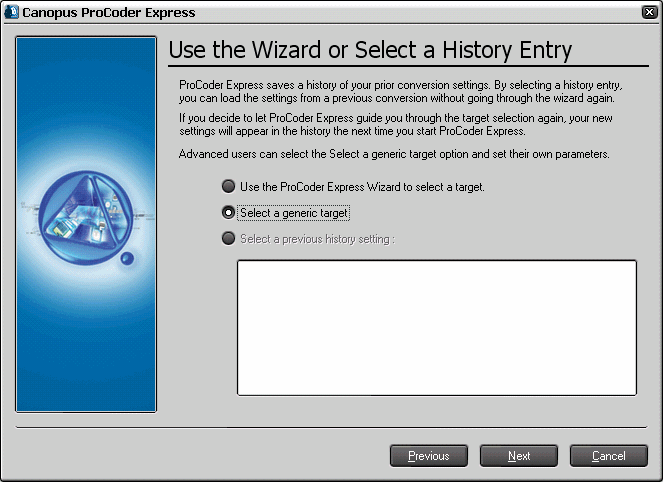
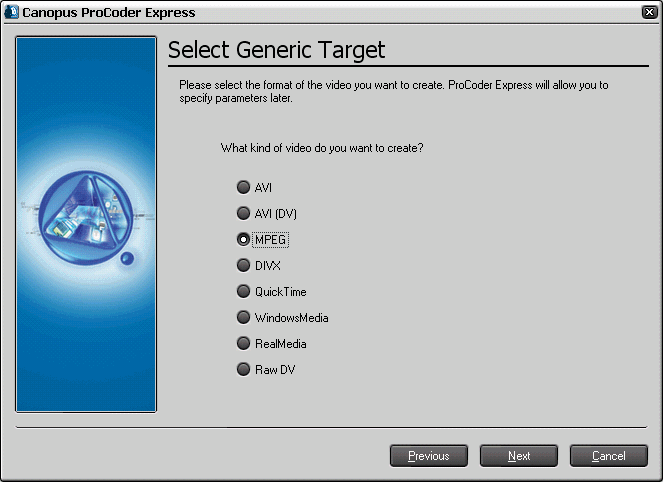
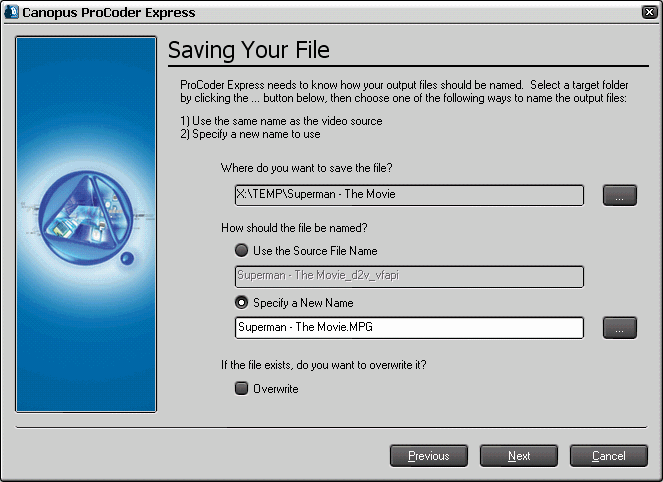
Step 2(a/b/c) - At the "Wizard" settings, you can let ProCoder select a target, or you can click on "Select a generic target" and set things yourself instead. Click on "Next"
to select the type of video you want to create, for this example i've
selected MPEG format (this can be MPEG1 and MPEG2), then click on "Next" to continue. Now you will be asked "Where do you want to save the file?" and what name to give it. Click on "Next" to procced.   |
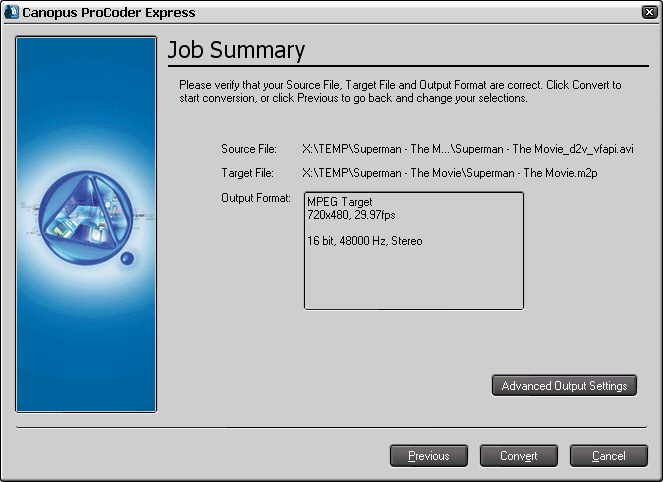
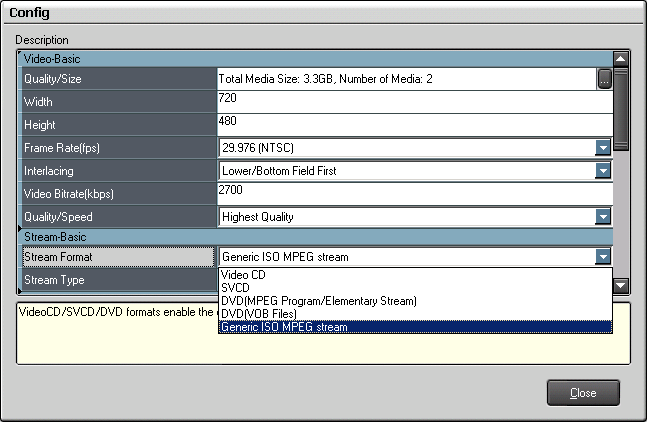
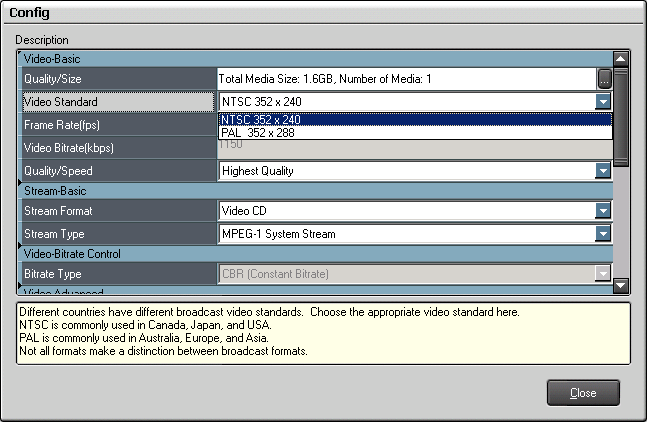
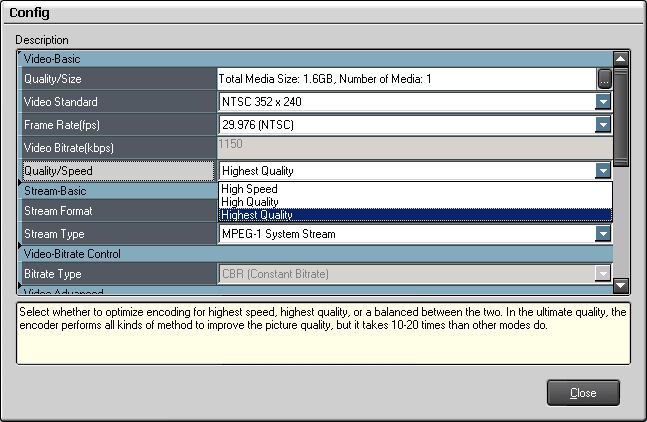
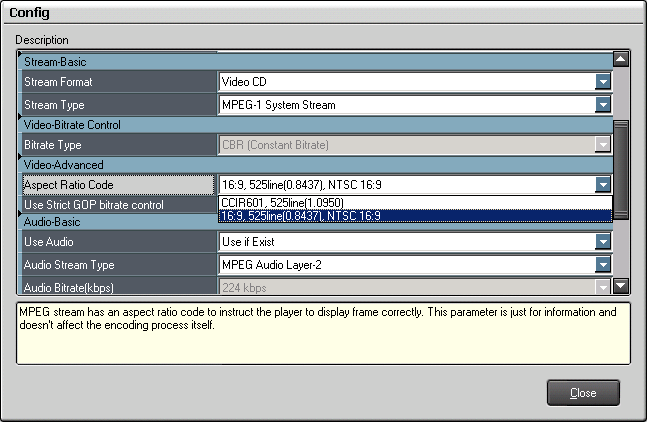
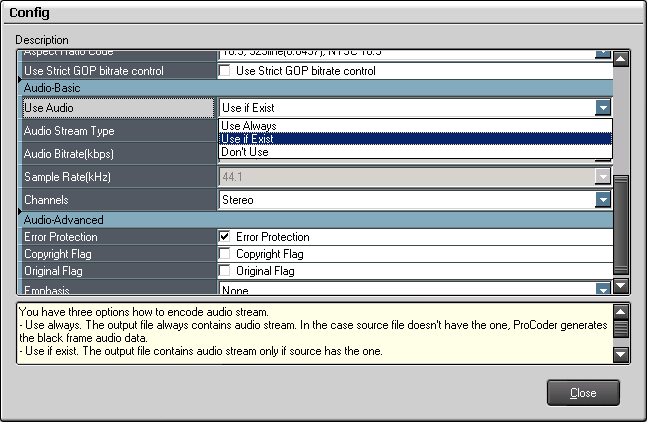
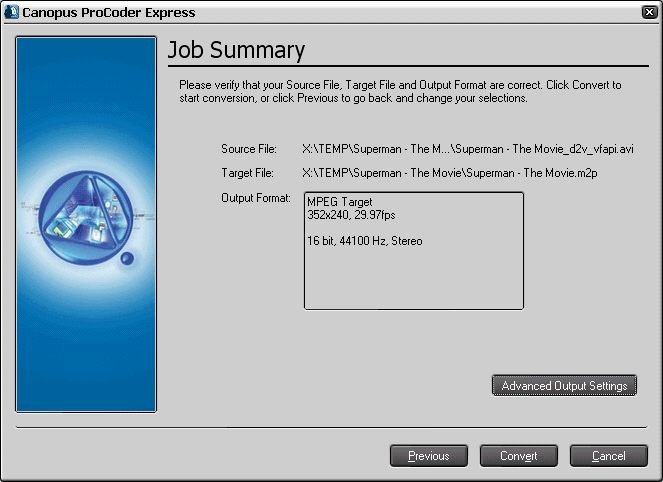
Step 3(a/b/c/d/e) - In the "Job Summary" you can see the predefined "Output Format" that was selected by ProCoder, if you want to make changes, click on "Advanced Output Settings" to set up your "Output Format" type. In the "Config" menu (a), first select the "Stream Format"
you are creating (for this example i've selected VideoCD) and this will
set up the rest automaticly, which you can change according to the new
type you selected. Now select the "Video Standard" (b) of your movie (PAL/NTSC) to match the source, then select the "Quality/Speed" level (c) and then choose the "Aspect Ratio" of your movie (d) and Finaly select if to encode Audio or "Don't Use" any Audio source (e), when you are satisifed with your choices Click on "Close" to return to the "Job Summary" a)  b)  c)  d)  e)  |
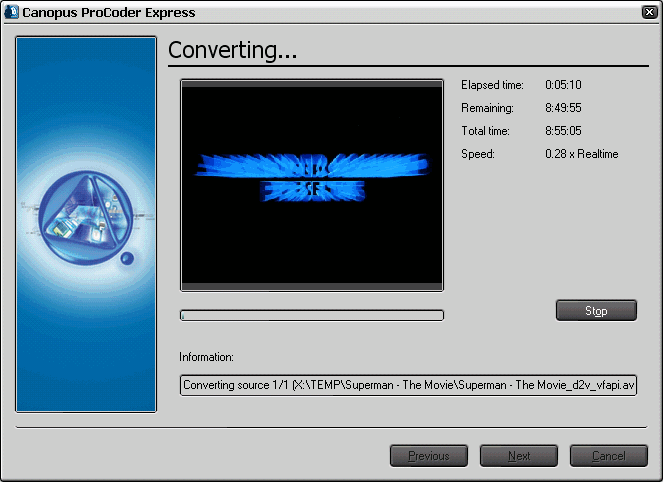
Step 4(a/b) - Now the "Job Summary" will reflect the "Output Format" settings you changed, if you are not satisified you can click again on the "Advanced Output Settings" and make changes. If you are ready, then click on "Convert" to begin the encoding process.  |
| Next - Multiplexing or Splitting large MPEG files to fit CDR media! |