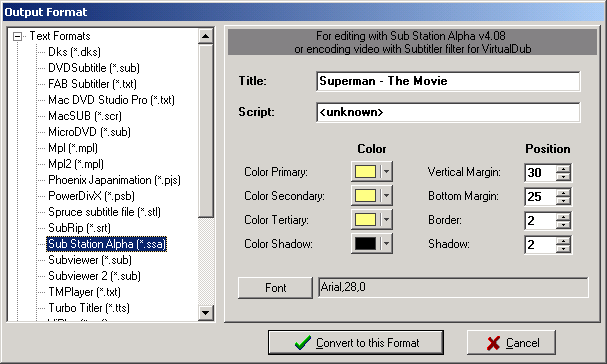
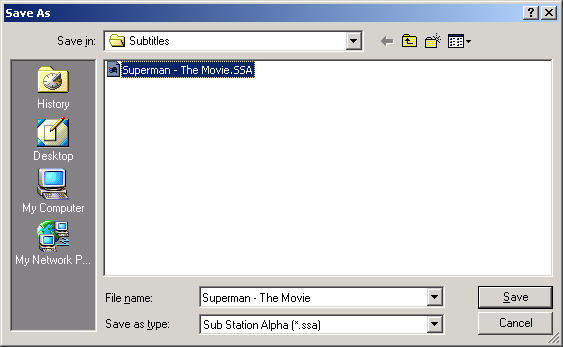
Using - MaestroSBT
|
|
This
program can make Subtitles that will be compatible with WinSubMux which
is required to Multiplex the movie with the Subtitles.
NOTE: This program is a Freeware which you can download from Doom9's Software page, you can access the page through HERE
|
|
|
Step
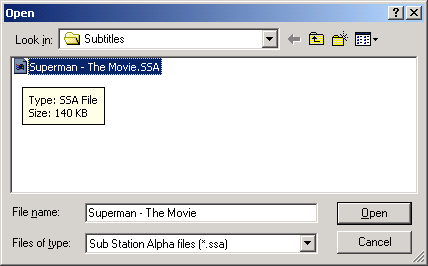
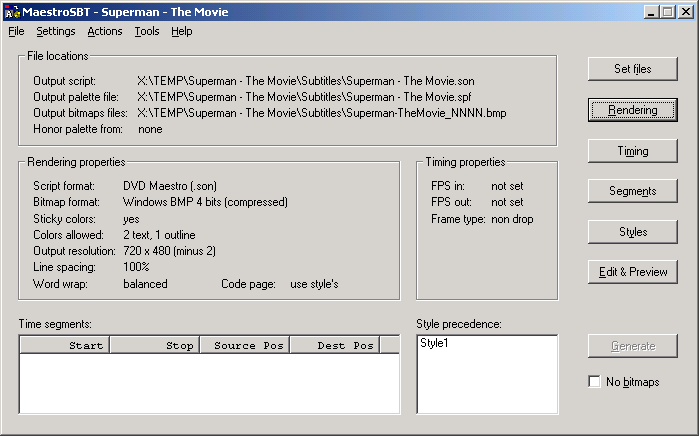
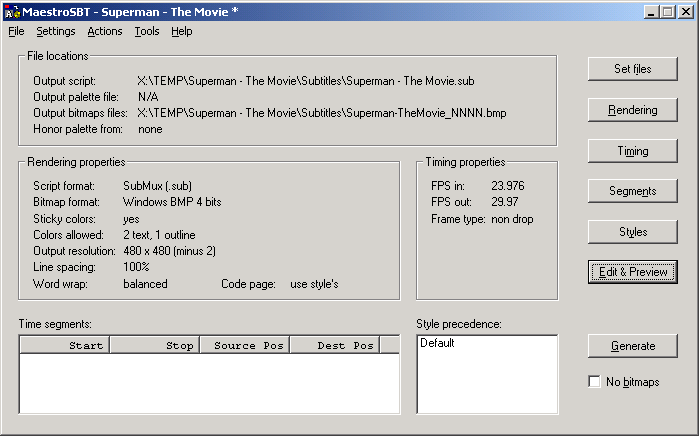
1(a/b) - As soon as you open MaestroSBT, a popup window asking for the location of the "Sub Station Alpha (*.ssa)" subtitle file. After you open, the main program will come up, Click on "Rendering" to proceed.
|
|
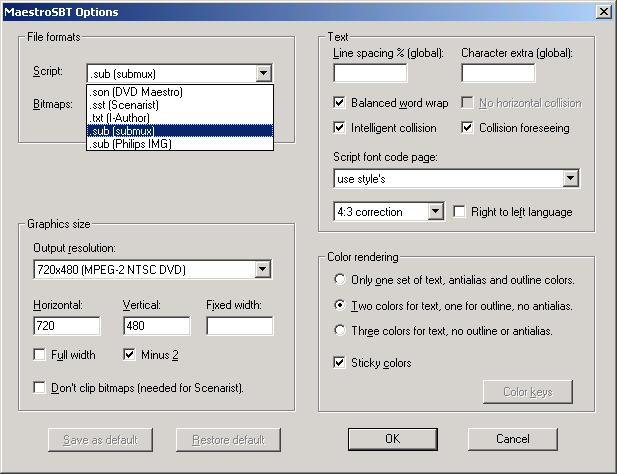
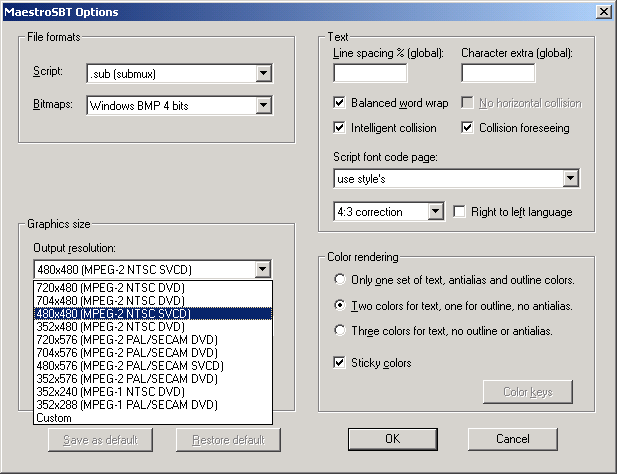
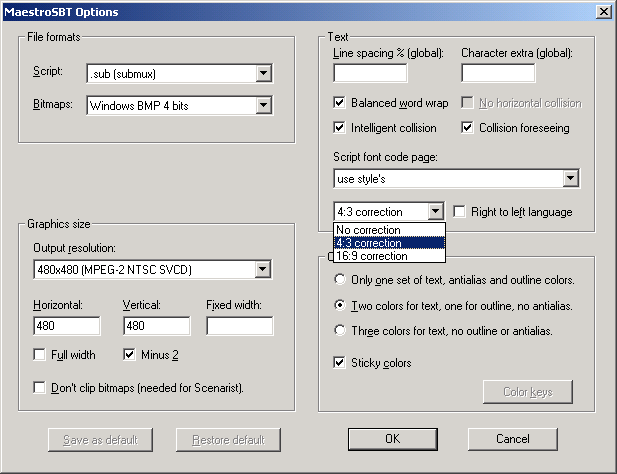
Step 2(a/b/c) - Under the "File formats" pulldown, select the ".sub (submux)" option. Now in the "Graphics size" you need to select the type of movie the Subtitles will be muxed into, use the "Output resolution" pulldown to select your movie type and resolution. In the "Text" category you can select the "Script font code page" and select if your movie is "4:3" or "16:9" and also the language start point. Click on "OK" to get back to the main program.
|
|
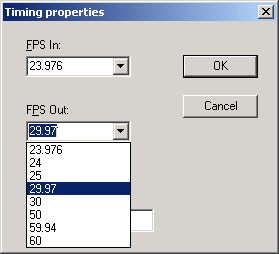
Step 3(a/b) - Click on the "Timing" button and change the "Timing properties" of your Subtitles to match the movie. If it's already matched then you can skip this step. Click on the "Styles" button to make changes to the font type/color/size/location and then click on the "OK" to return to the main program.

|
|
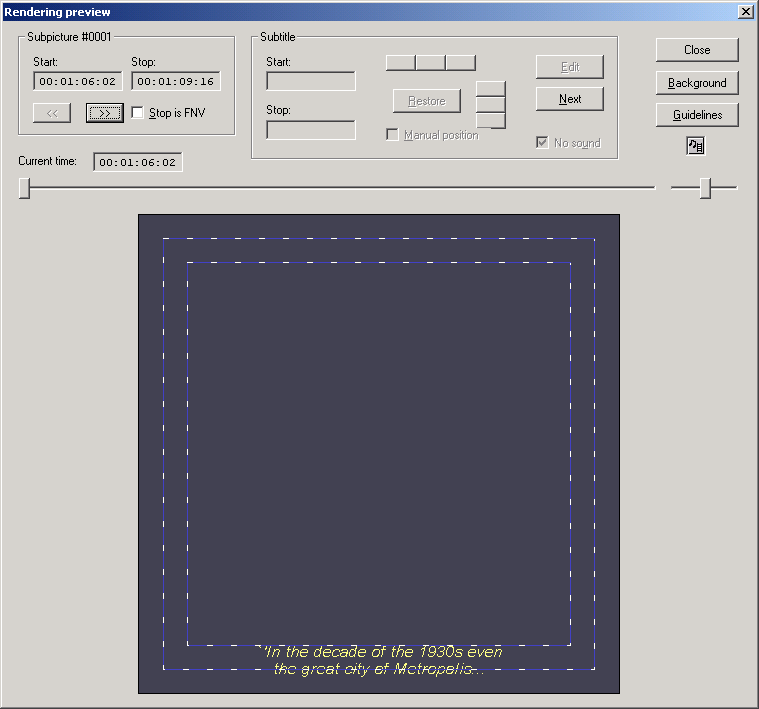
Step 4(a/b) - Click on "Edit & Preview" to view your Subtitles, you can use the ">>" uner the "Subpicture" to go back and forth in your subtitles. Under the "Subtitle" you can use "Edit" to change the text and also change the position. Once you are satisifed click on "Close" and then click on "Generate" to create the new Subtitles for WinSubMux.
|
|
| Using - WinSubMux |
|
This is the only known Freeware
which can Multiplex Switchable Subtitles into your movie. When used
with a CVD/SVCD type of file, it is not guarnteed to work on all DVD
Players and there are very few programs on the PC which can play this
type of Subtitles format. So it is suggested you check before you go
through this process.
NOTE: This program is a Freeware which you can download from Digital-Digest software, you can access the page through HERE
|
|
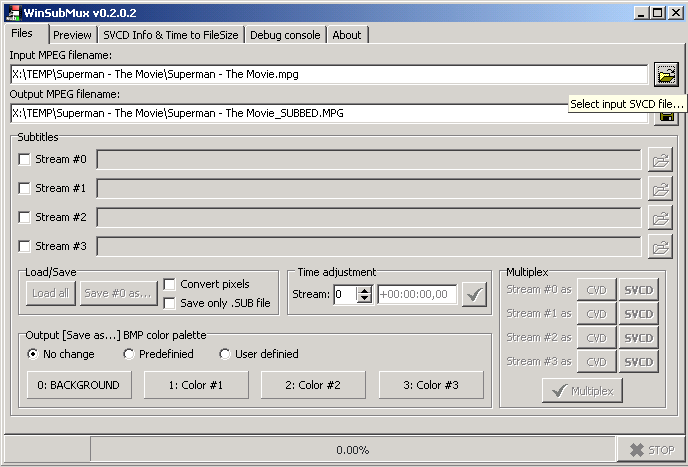
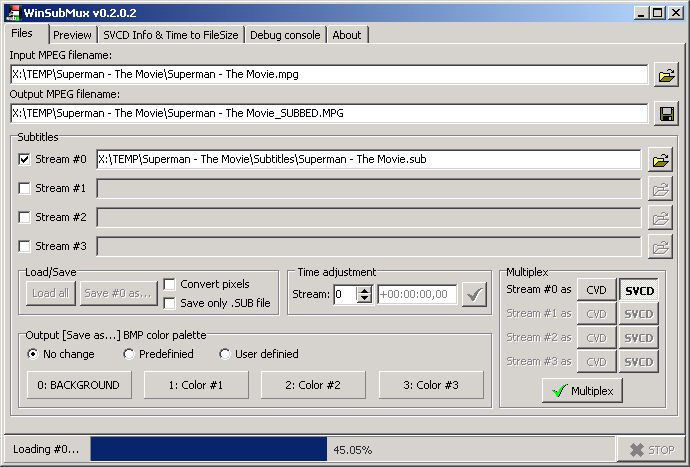
Step 1(a/b) - Insert your "Input MPEG filename" and select a new "Output MPEG filename" which will be multiplexed with the Subtitles. Under the "Subtitles" category, enable the "Stream" for your subtitle file. You can insert upto 4 subtitle streams. Now click on the "Load all" to open all the required files into the program.
|
|
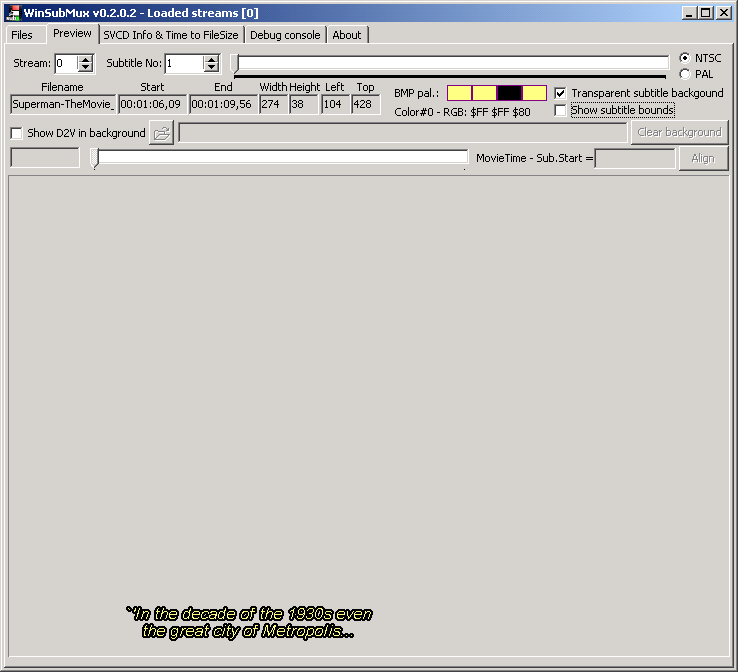
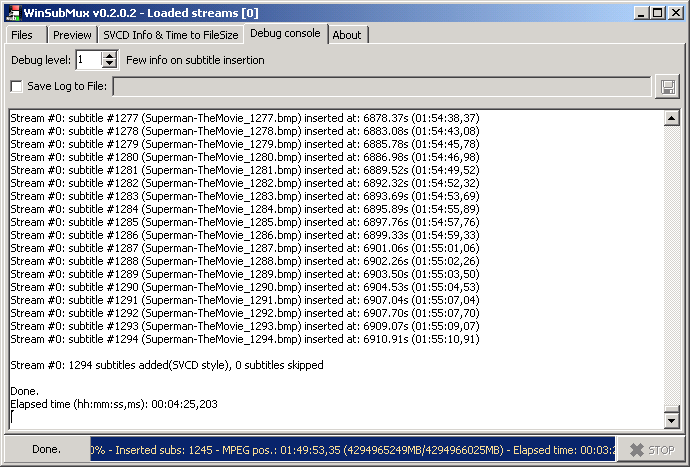
Step 2(a/b) - Use the "Preview" to check your subtitles and if you are satisfied, go back to "Files" and click on "Multiplex" to begin the integration of the Subtitles into your Movie.
|
|
| Next - Authoring [Burn! Baby
Burn!] |

