Page 5 of 6: Using VirtualDub - Re-encode AVI for standalone compatibility
After completing either the XviD method or the DivX method, lets start saving the avi in VirtualDub.
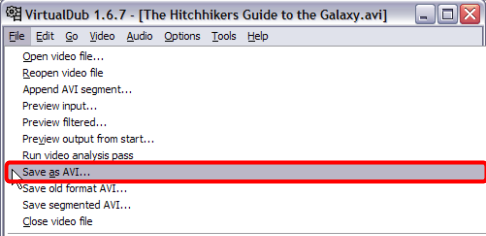
On your VirtualDub screen, click "File", then click "Save as AVI...". You cannot use the same name unless you are saving it to a different folder/directory than the orgininal avi file cause VirtualDub needs to use that file to re-encode. (Screen Shot Below)

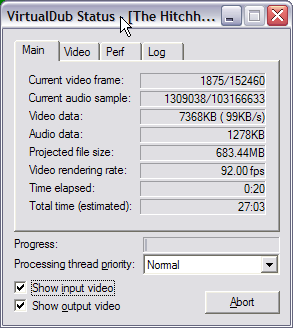
After clicking the "Save" button, VirtualDub will now start to re-encode the video file with the codec you chose earlier. (Screen Shot Below)

On your VirtualDub screen, click "File", then click "Save as AVI...". You cannot use the same name unless you are saving it to a different folder/directory than the orgininal avi file cause VirtualDub needs to use that file to re-encode. (Screen Shot Below)

After clicking the "Save" button, VirtualDub will now start to re-encode the video file with the codec you chose earlier. (Screen Shot Below)


